
Trafficity Layout Library: Six Builds to Copy
Six reproducible Trafficity layouts - district loop, ring arterial, staggered T, roundabout, diamond interchange, industrial spur - and what each handles.
This page is a catalogue, not a tutorial. Each entry describes a layout you can draw in a few minutes, the traffic condition it is built for, and the failure it develops when you push it past that condition. If you want the reasoning behind the geometry, follow the links inside each entry rather than reading this page end to end.
All six assume a mouse, a normal-difficulty save and no mods. None of them depend on a specific biome, though Alpine and Fjords will force the shapes to bend around terrain.
Each pattern links to the page that explains its sizing, and roundabouts→ is the usual starting point.
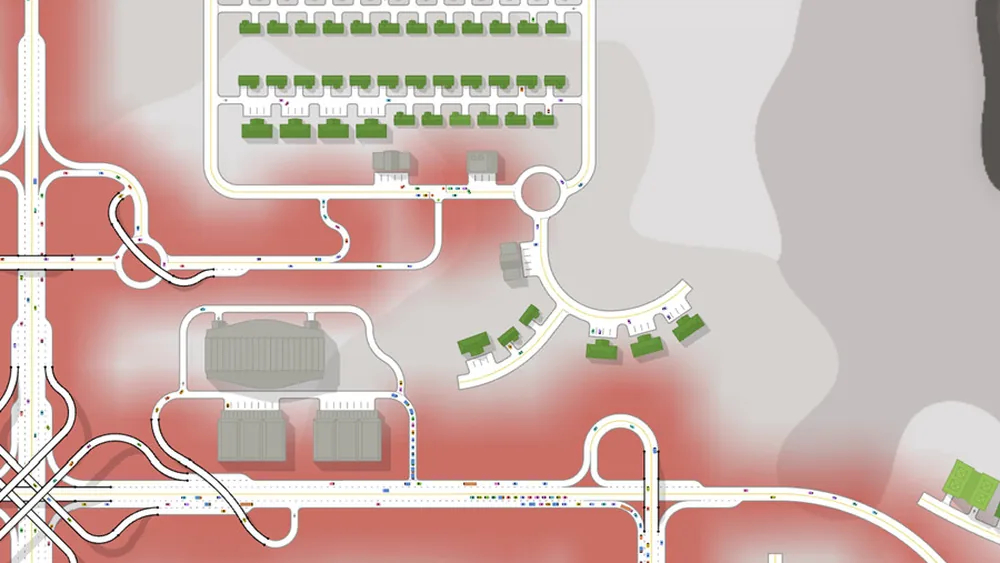
1. The district loop
Shape: a single closed loop around a residential district, with two connections to the arterial and no through-route across the middle.
Built for: districts of 6 to 12 blocks where all traffic either leaves to work or returns home. The loop gives every building two ways out without creating a shortcut through the middle.
Fails when: the two arterial connections are close together, because then the loop becomes a shortcut between them and through-traffic enters the district. Space the connections on opposite sides.
Connections: each loop entry connects only to the arterial's nearest lane. Do not connect the loop to every arterial lane or cars will cut across on entry.
2. The ring arterial
Shape: a continuous arterial ring around the city centre, with district connectors branching outward and no arterial passing through the centre.
Built for: cities past the first few levels, where cross-town trips start competing with centre-bound trips. The ring gives through-traffic a route that never touches the core.
Fails when: the ring has a gap. A single missing link sends every cross-town trip back through the centre, and the centre junctions fail immediately. Finish the ring before connecting new districts.
Connections: keep the ring free of direct building access. Every district connector should meet it at a proper junction with a turn pocket.
3. The staggered T pair
Shape: two T-junctions offset from each other on opposite sides of an arterial, replacing what would otherwise be one four-way crossing.
Built for: low-to-medium volume crossings where a roundabout would be oversized and a signal would add delay for very little traffic.
Fails when: the offset is too short. If a car leaving the first T has to stop inside the second, the two junctions behave as one bad crossing. Keep at least a full block between them.
Connections: each T should permit only the movements that make sense - left out of the minor road, straight through the arterial - so cars do not use the pair as a shortcut into the neighbourhood.
4. The two-lane roundabout with slip lanes
Shape: a four-entry roundabout, one circulating lane, plus a slip lane on each of the two busiest right-turn entries.
Built for: mixed turning traffic at a district gate, where the right turns are common enough to be worth removing from the circle entirely. This is the highest-value single junction in most cities.
Fails when: an exit is blocked, because a circle with nowhere to go locks. It also fails if the slip lanes are connected to the roundabout's internal lanes instead of bypassing them.
Connections: slip lanes connect to the right-turn exit only; entry lanes connect to the circulating lane and their own exit, not to every exit.
5. The diamond interchange
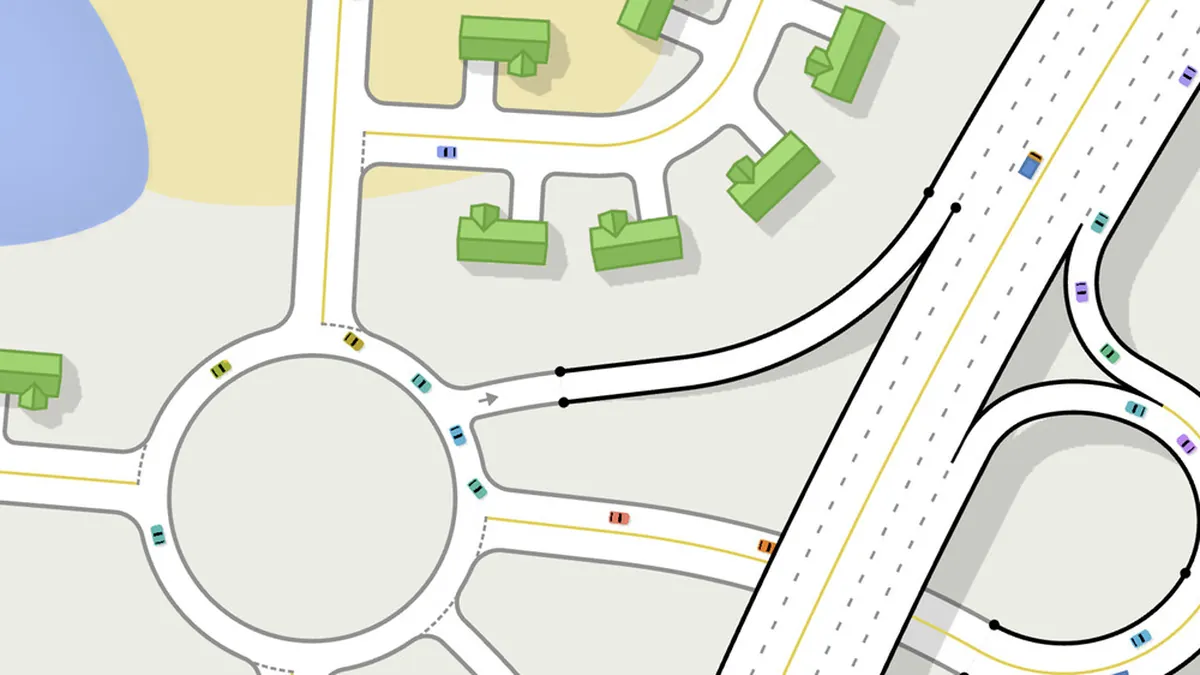
Shape: one road passes over another, with four short ramps connecting to a surface road that distributes into the local grid.
Built for: an arterial crossing a district road where both need to keep moving, and where the surface road has room to absorb the ramp traffic.
Fails when: the off-ramps land directly into a junction, or when the surface road cannot absorb the volume. A diamond moves traffic faster to the next bottleneck; it does not remove trips.
Connections: each ramp connects to one destination lane. Keep the on and off ramps offset so entering and leaving traffic never weaves in the same stretch.
6. The industrial spur
Shape: a dead-end arterial spur into the industrial zone, with its own connection to the ring and no residential streets crossing it.
Built for: separating freight and worker traffic from residential traffic. Industry generates heavy, directional flows at shift change, and those flows should never pass a school or a housing block.
Fails when: the spur is the only route, because a single blocked junction isolates the whole industrial zone. Build a second connection before the zone grows.
Connections: at the spur's junction with the ring, give the heavy movement a dedicated lane and a longer green. A shift change is the closest thing Trafficity has to a scheduled surge.
These layouts are shapes, not fixed measurements. Block counts and ramp lengths have to fit your map. What transfers is the connection pattern and the failure mode.
How to test a copied layout
Build one layout at a time and run it for a full rush hour before adding anything else. The point of copying is to give yourself a known-good starting point, not to skip the diagnosis. If a layout that should work is failing, the cause is usually one of three things: a missing lane connection, a blocked exit, or a district size the layout was never meant for.
The bottleneck diagnosis guide→ walks through that check, and grid versus organic→ explains why some of these shapes work better on curved terrain.
Where the data comes from
- Trafficity on Steam ↗ - store description, price and feature list.
- Trafficity news hub ↗ - patch notes and developer posts.
- Steam global achievement percentages ↗ - the public endpoint behind the completion figures quoted here.
Official source: Trafficity on Steam ↗
FAQ
Can I copy these layouts exactly? The connection patterns transfer; the measurements do not. Block counts and ramp lengths depend on your map and district size.
Which layout should a beginner build first? The district loop. It is the smallest layout that teaches the difference between a connection and a shortcut.
What is the best layout for a large city? The ring arterial plus district loops. It keeps cross-town traffic out of the centre and gives every district two exits.
Do these layouts work on Expert? Yes, but Expert's tighter budget means building the ring in sections instead of all at once.